Stirley Farm EnerPHit: Windows & Doors
For this project we’re specifiying a Passivhaus certified range which is a timber and aluminium composite and has slim frame and sightlines.
One of the reasons we’ve decided to go with a Passivhaus-certified product is that we’ are going down the ‘elemental’ route to EnerPHit certification. This elemental method of getting to EnerPHit has been developed for buildings where there tends to be a higher ratio of external envelope to floor area than is ideal. If the barn was of normal ceiling height it would easily meet the normal route to EnerPHit certification levels but because we’ve got such a high ceiling, we’re going for the elemental approach – where each element – and psi value – of the building is treated separately in its own right.
Going down the elemental route means that we can’t go for a lower performance window (ie one with a higher U value) and work out the psi values and play these against other elements in the PHPP (as we did at Denby Dale),. In this instance, the windows and doors have to be treated as a separate entity. So we have to have an installed whole window U value of at least 0.85 W/m2K. The windows in the barn are quite small so in order to hit 0.85 W/m2K we have to go for a better performing frame – in this case Passivhaus certified and with an insulated frame.
Layout of windows & doors
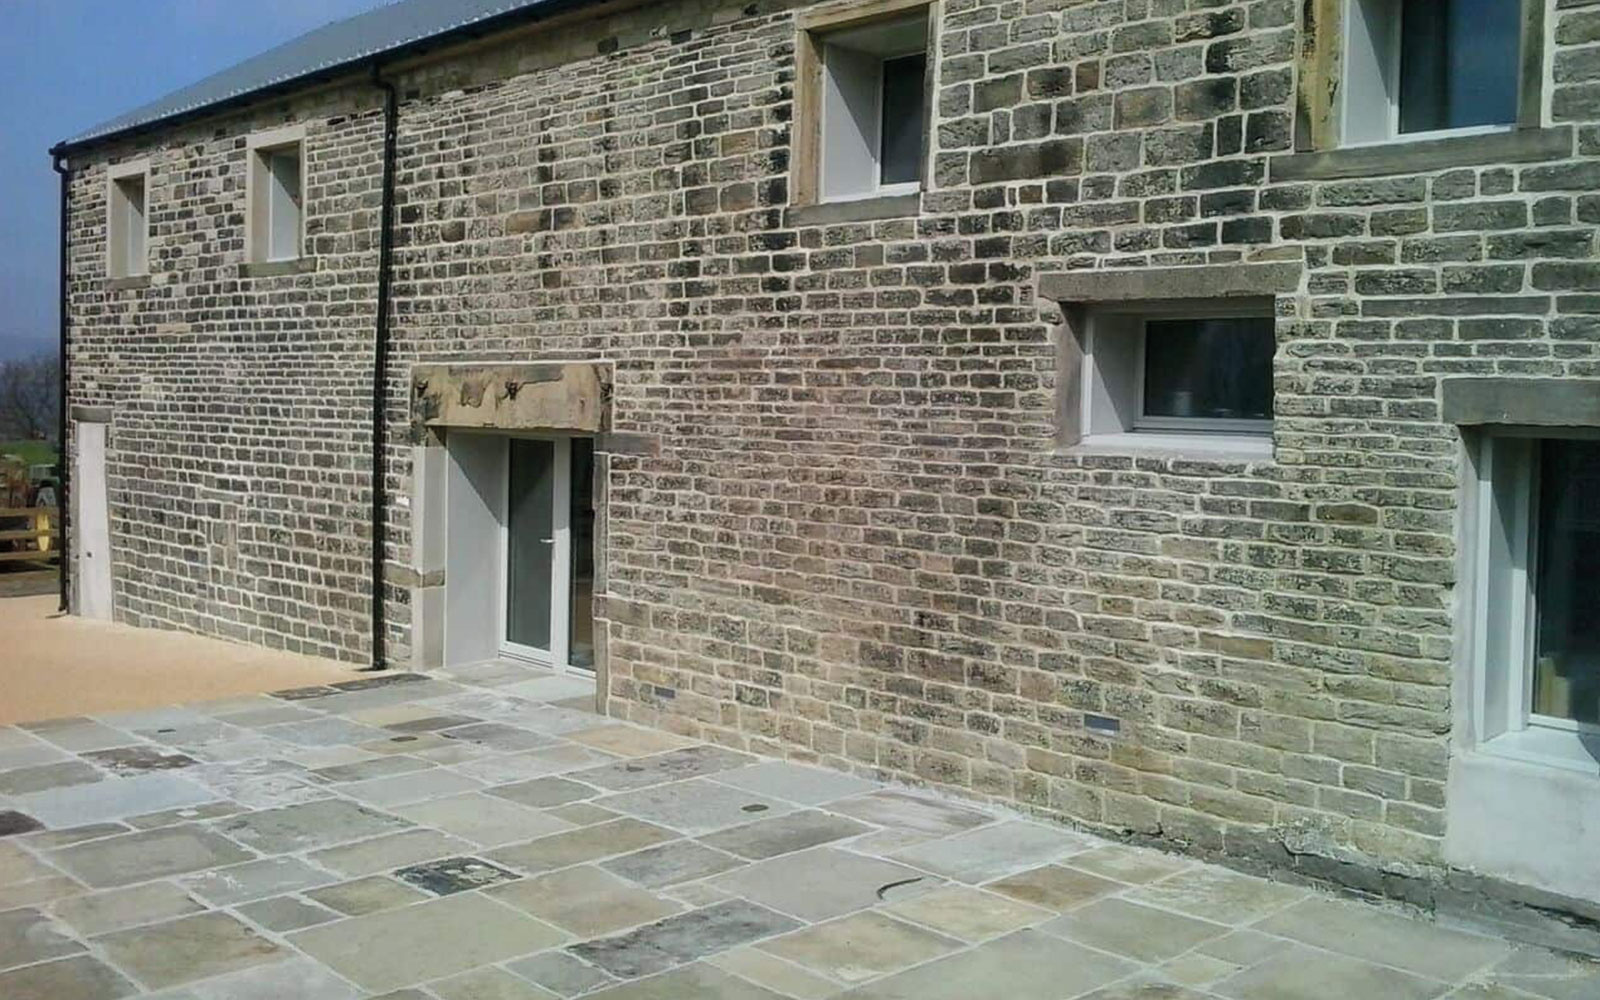
The barn will have a kitchen and teaching area at one end with an additional separate teaching room upstairs in a mezzanine at the opposite end.. There will also be a lobby with entrance desk and storage room. The windows in the barn are all quite high up in the building – most will be electrically operated opening system on a tilt mechanism. The window for the upstairs teaching room will be manually operated with a tilt and turn mechanism. The windows in the kitchen area will be both fixed and opening. A lot of the natural light to the barn will be via the three large glazed doors and sidelights. As with most retrofits, the solar gain from the south facing windows is not the optimum.
Window junction detailing
We’ll be fixing the windows and doors using plywood boxes again (as developed at Denby Dale) – this time however there will be raked reveals. The reason for that is that we’re very concerned about the total depth of the wall which is considerably more than at Denby Dale so we’re thinking about light getting into the barn . So the plywood boxes will have splayed reveals as opposed to the straight shape we used at Denby Dale. The windows and doors are sat in line with the outside face of the Gutex insulation board and then will have an extra bit of polyurethane in front of it in the cavity between it and the masonry to cut down the thermal bridging. The cavity is very different on each opening but we’ll be using custom made powder coated aluminium cavity closers as we did on Denby Dale, which will run from the window onto the stone window surrounds closing off the cavity with a neat appearance. The windows and doors will be set quite deep within the openings – which aesthetically looks very good in a barn conversion.
On site
The timber walling has taken longer that we’d thought because it is quite complicated due to it being not only the thermal envelope but the main structural stability of the barn, and not helped by the uneven shape of the existing masonry walls. Jude – our site foreman – has been amazing with his diligence and attention to detail. We’ve got most of the internal timber framing up now and we’ve just the two tops of the gable ends to do. So we’ve done about 75% of the internal timber framing. wall work.
Fixing the wall connectors
We’ve still to fix the Teplo Ties in place. As we’ve mentioned in previous blogs, the Teplo Ties will tie the timber frame in with the masonry wall. We had hoped to use a plastic thread and nut at the end of the Teplo Ties but unfortunately the tensile testing has not been completed in time – so we’re going to use 50mm of steel threaded bar resin anchored onto the Teplo Tie instead. This will be used to secure the teplo tie into a wooden noggin inside the timber frame. This won’t be a thermal bridge because it is at the end of the Teplo Tie itself, it just would have been nicer to have it in plastic so the whole component would have been thermal bridge free. It is likely that Teplo Ties will be developed further for this kind of use.
We’ll be drilling through the Gutex sarking board with a long masonry drill into the concrete pads in the outer wall, then mechically blow out the residue dust , before squeezing – with a long nozzle – resin into the hole. Then the Teplo Tie will be inserted into the resin will bind the with the concrete and will stabilise the masonry wall by conecting it with our timber frame. The Teplo Tie will be secured into a timber noggin (basically just a piece of wood 100/150mm) with a steel nut & washer clamping the Teplo Tie to the noggin.
Bill Butcher, Director, Green Building Store