Stirley Farm EnerPHit: Foundations & Groundfloor
In dealing with our foundations and groundfloor detailing we’ve had to address several issues:
• Structural stability of the existing building
• Achieving the thermal performance to meet EnerPHit Passivhaus standard by maximising airtightness and minimising thermal bridging
• Preventing moisture ingress from groundwater and driving rain
Underpinning
Old barns tend not to have very deep foundations so before we did anything to the groundfloor we’ve had to underpin the existing walls with concrete pads alternating with mass concrete pads, alternating every metre. Otherwise our work on the ground floor slab could have potentially undermined the existing foundations.
Ground floor slab
The ground floor slab is now in place. Our detaling of the ground floor should be very clear from the CAD section below. (Thanks to Sue Heywood who created the CAD drawing for us.)
The ground floor insulation for the project comprises 2 X 100mm polyurethane sheets which have been very carefully butt-jointed and taped. We have used the tape to stop the movement of the boards when concrete was poured on top with a concrete pump. The force of the pump might knock the boards apart causing concrete to go between the insulation boards – potentially forming a thermal bridge. This is a technique that we’ve learnt since we worked at Denby Dale. (Having said that, at Denby Dale we didn’t use a concrete pump – we poured the concrete in using wheelbarrows – so it wasn’t such an issue . )
To minimise thermal bridging, the slab is independent structurally of anything else and is separated from the ground and the stone wall. You’ll see that there is a polyurethane insulation upstand at the edge of the concrete slab – which means that the concrete slab is situated in a bath (or container) of polyurethane.
We’ve dealt with any water ingress issues at the ground floor junction (either from groundwater or driving rain) by using a plastic cavity drain and with a land drain underneath the slab perimeter.
More information on how we are going to deal with moisture is in my previous blog at:
http://www.passivhausblog.co.uk/stirley-community-farm-enerphit/stirley-community-farm-dealing-with-moisture/
Elsewhere on site
We have positioned most of the concrete connecting blocks in the wall (as discussed in my previous blog at http://www.passivhausblog.co.uk/stirley-community-farm-enerphit/stirley-community-farm-enerphit-%E2%80%93-supporting-the-external-walls/), so that we are ready to accept our timber framing.
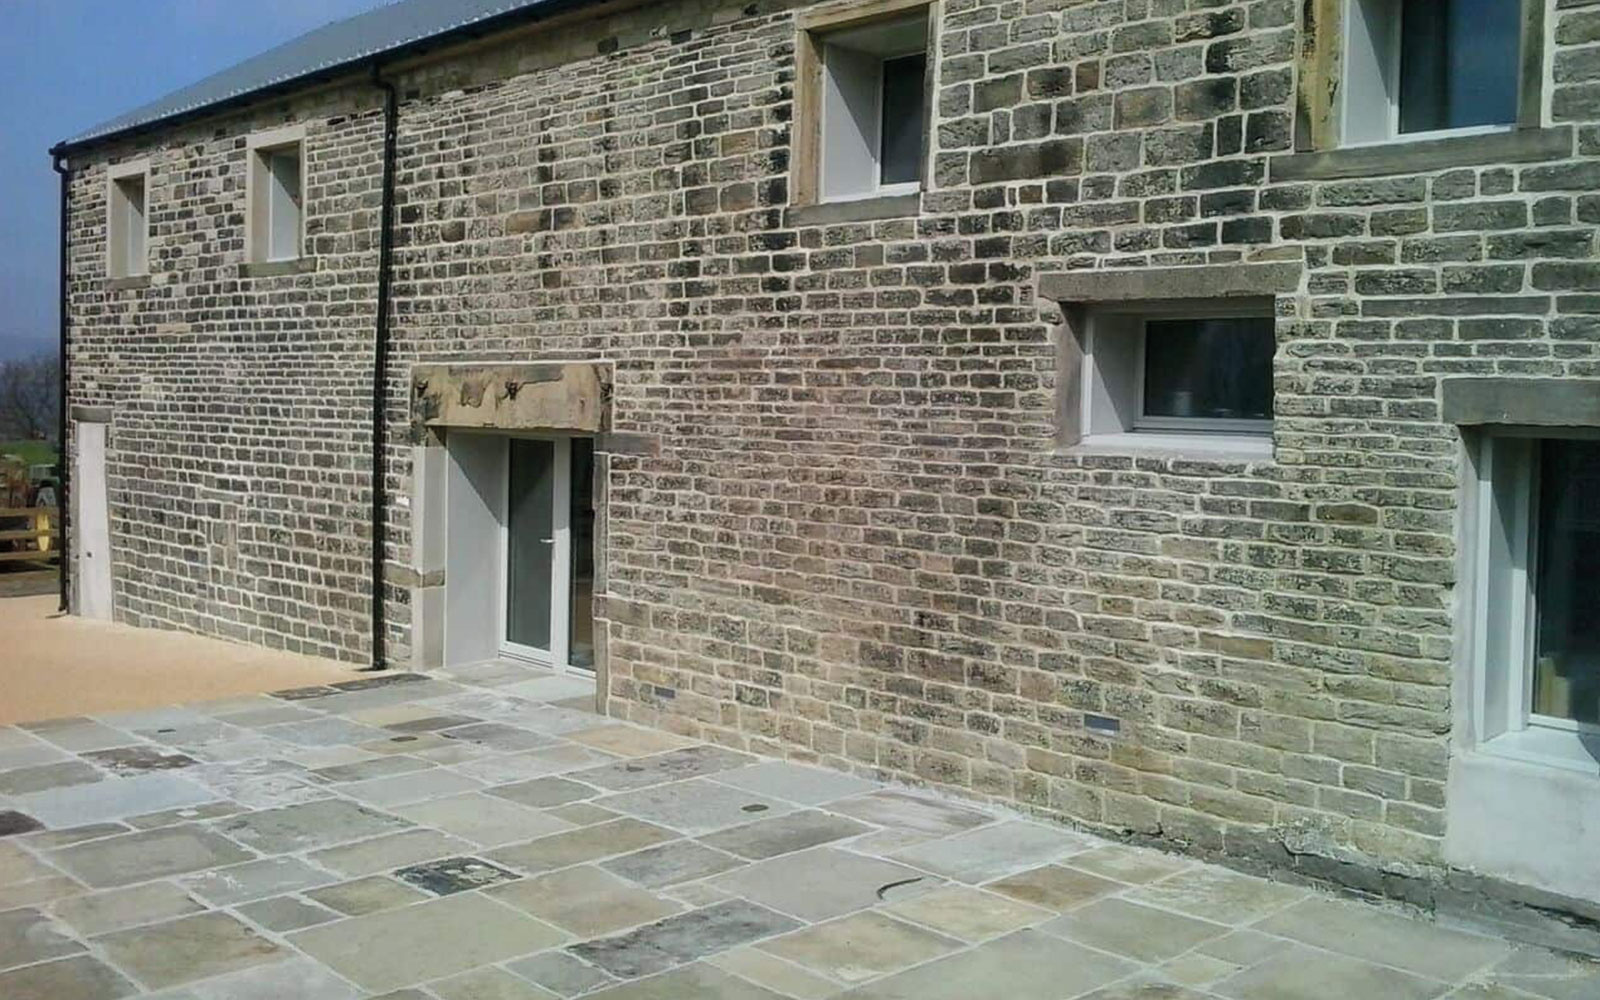
To ensure structural stability, we are rebuilding the gable end wall and have rebuilt the inner leaf completely and are now building up the stone outer in keeping with the original.
We are also now looking at the roof –we have replaced the purlins between the trusses with new steel shoes designed by our structural engineer . We have created a temporary roof so that we can have reasonably dry working conditions for us to make a start on the timber walling inside. In the next blog we’ll look at detailing around the timber walls themselves..
Bill Butcher, Director, Green Building Store